Beamer Presentations: A Tutorial for Beginners (Part 4)—Overlay Specifications
Part 1 | Part 2 | Part 3 | Part 4 | Part 5
Author: Josh Cassidy (August 2013)
This five-part series of articles uses a combination of video and textual descriptions to teach the basics of creating a presentation using the LaTeX beamer package. These tutorials were first published on the original ShareLateX blog site during August 2013; consequently, today's editor interface (Overleaf) has changed considerably due to the development of ShareLaTeX and the subsequent merger of ShareLaTeX and Overleaf. However, much of the content is still relevant and teaches you some basic LaTeX—skills and expertise that will apply across all platforms.
In the previous post we looked at adding some more interesting content into our presentation. In this post we're going to look at animating our slides.
The pause command
Often when when doing a presentation we'll want to reveal parts of a frame one after the other. The simplest way to do this is to use the \pause command. For example, by entering the \pause command before every entry in a list we can reveal the list point-by-point:
\begin{frame}
\frametitle{List}
\begin{itemize}
\pause
\item Point A
\pause
\item Point B
\begin{itemize}
\pause
\item part 1
\pause
\item part 2
\end{itemize}
\pause
\item Point C
\pause
\item Point D
\end{itemize}
\end{frame}

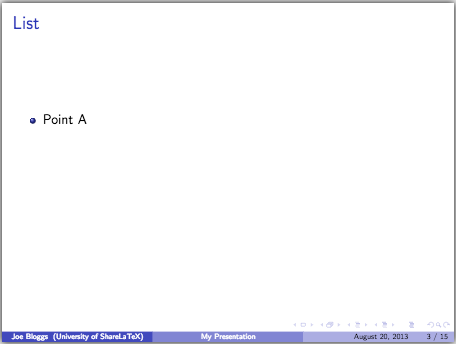
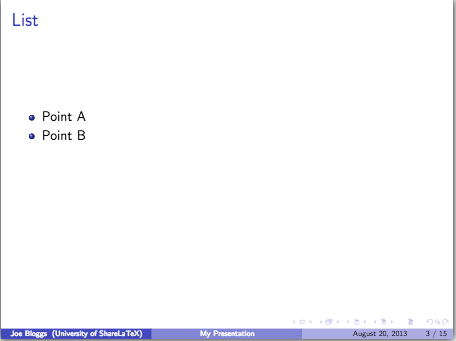
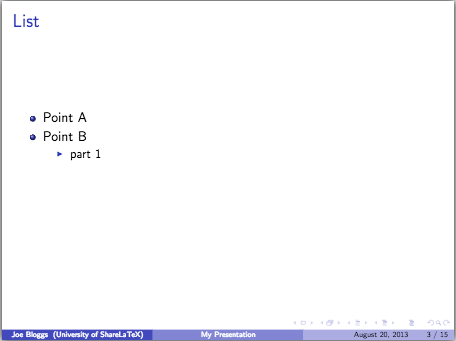
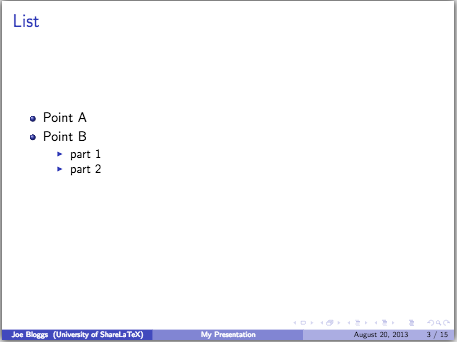
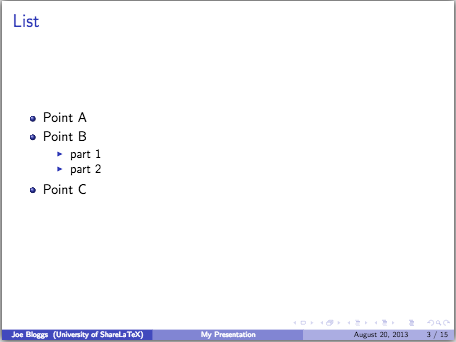
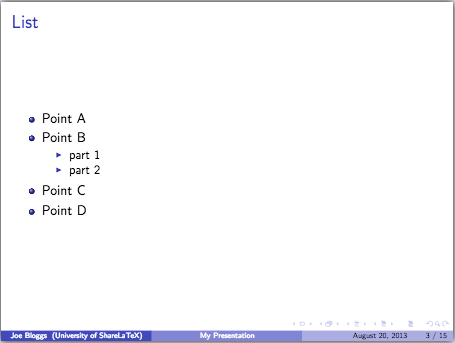
This brings us on to the difference between a frame and a slide. A single frame is defined as what we build up in a single frame environment, whereas a slide is a single page in the resulting PDF. This means that a frame can be made up of multiple slides. For example, this frame with the list that we've just animated is made up of seven slides, but the frame number in the bottom-right-hand corner of each slide remains unchanged for all of the seven.
Overlay specifications
The \pause command is useful but isn't very versatile. To get more flexibility we use what beamer calls overlay specifications. These specifications can be added to compatible commands using pointed brackets after the command name. For example I can add them to the \item command in a list structure like this.
\begin{frame}
\frametitle{More Lists}
\begin{enumerate}[(I)]
\item<1-> Point A
\item<2-> Point B
\begin{itemize}
\item<3-> part 1
\item<4-> part 2
\end{itemize}
\item<5-> Point C
\item<6-> Point D
\end{enumerate}
\end{frame}
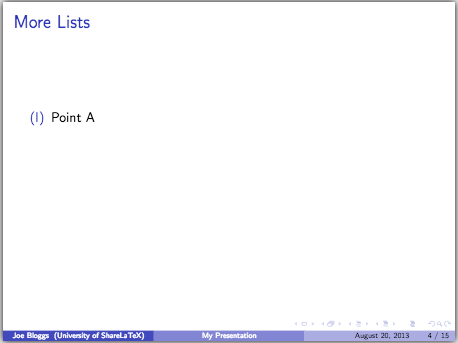
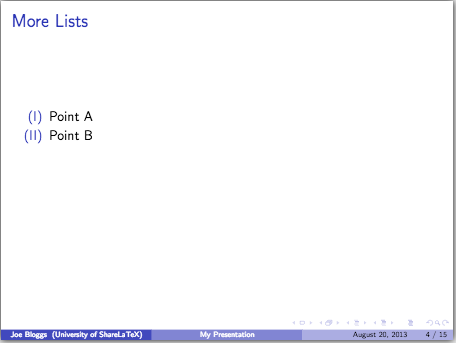
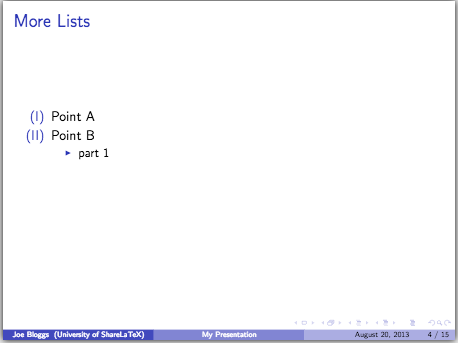
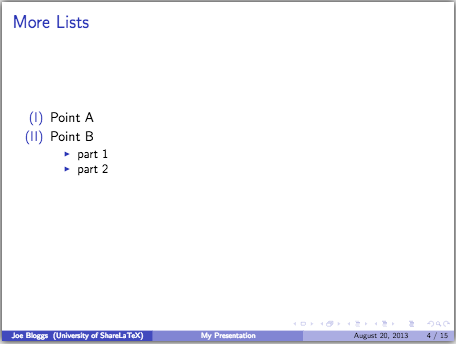
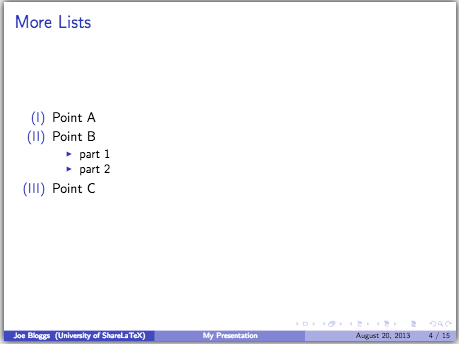
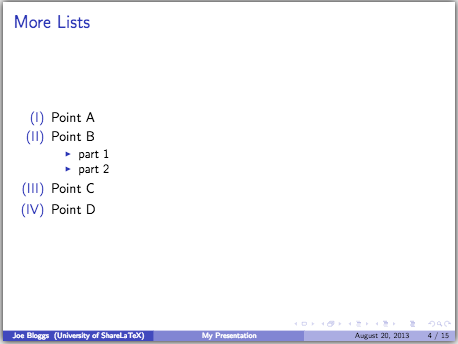
The numbers inside the pointed brackets tell LaTeX which slides the item should appear on. For example, in this list we've told each list item which slide number it should first appear on and then told them to appear on all subsequent slides in the frame using the dash. Here's an example of a more complicated overlay:
\item<-2,4-5,7>
This makes the item appear on slides 1,2,4,5 & 7.
There are a number of commands that enable us to use overlays on text. The main one is the \onslide command which can be configured to achieve a few different outcomes, details of these can be found in the documentation.
\begin{frame}
\frametitle{Overlays}
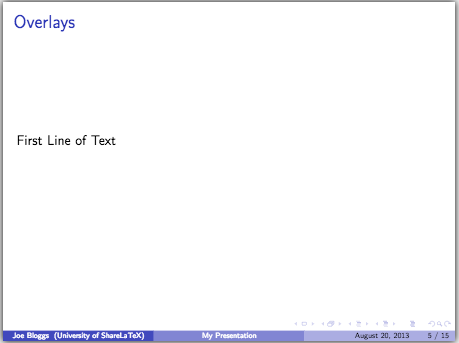
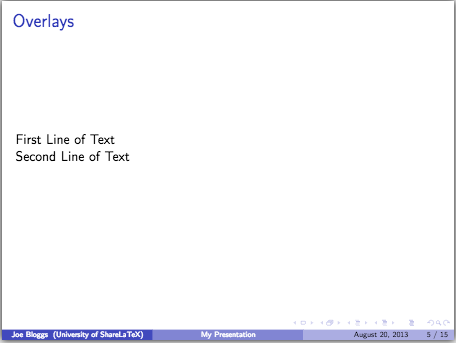
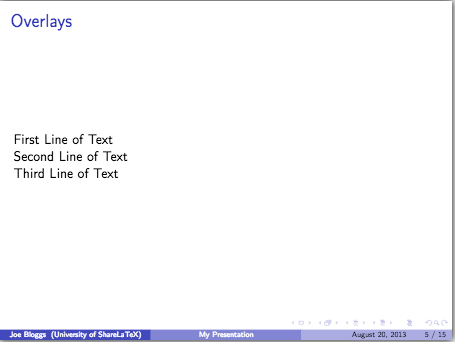
\onslide<1->{First Line of Text}

\onslide<2->{Second Line of Text}

\onslide<3->{Third Line of Text}
\end{frame}
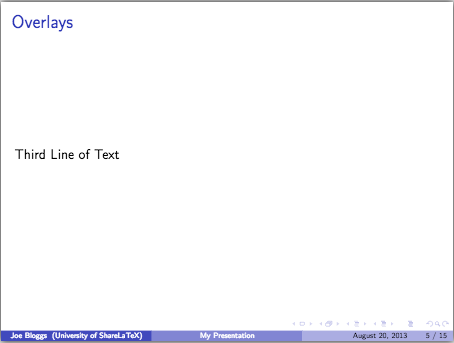
When we simply give this command text as an argument, it acts in the same way as the \uncover command making the text fully appear only on the specified slides. On unspecified slides the text is covered, so will still take up space but won't be visible.
To make the text transparent on unspecified slides we use the \setbeamercovered command and enter the keyword transparent above the code where we want it to have an effect:
\setbeamercovered{transparent}
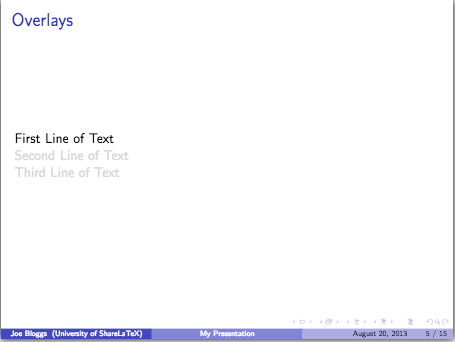
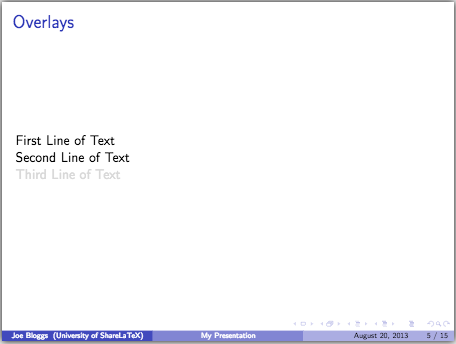
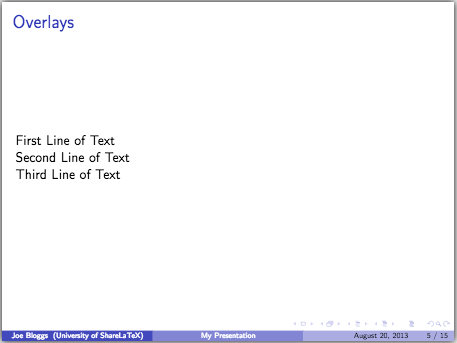
Please be aware that this command will affect all of the code following it, so if we want to change it back to the default setting later in the presentation we can simply use the same command again but with the keyword invisible.
Another command we can use is the \visible command which does the same as \uncover except it leaves the space blank on unspecified slides instead of transparent even if we've set the transparency as we did a moment ago.
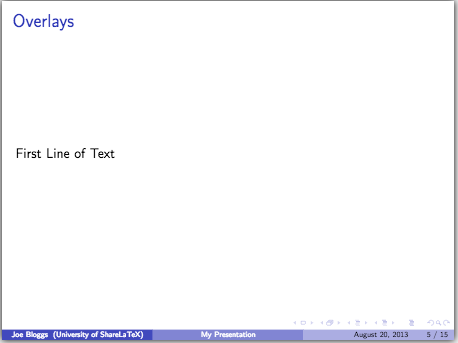
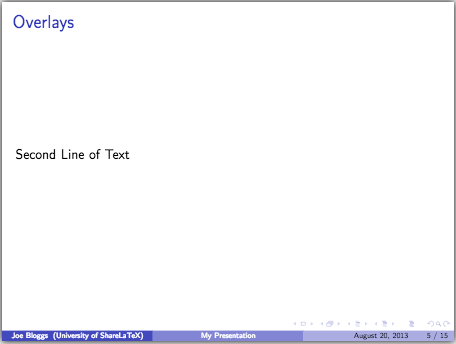
The \invisble command does the exact opposite to of the \visible command. The \only command does the same as the \visible command except it doesn't take any space up. This means that if we change the \onslide commands to \only commands and get rid of the dashes in the overlay specifications our three lines of text will appear in the same place on the frame in turn.
\begin{frame}
\frametitle{Overlays}
\only<1>{First Line of Text}

\only<2>{Second Line of Text}

\only<3>{Third Line of Text}
\end{frame}
Overlays and text formatting
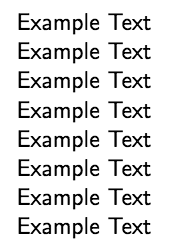
There are a number of commands to do with text formatting that are compatible with overlay specifications. These commands are simply ignored on slides not declared in the specification and will therefore just print the text as normal. Here are some examples:
\textbf<2>{Example Text}
\textit<2>{Example Text}
\textsl<2>{Example Text}
\textrm<2>{Example Text}
\textsf<2>{Example Text}
\textcolor<2>{orange}{Example Text}
\alert<2>{Example Text}
\structure<2>{Example Text}
Which will produce text like this on the first slide:
And then like this on the second slide:
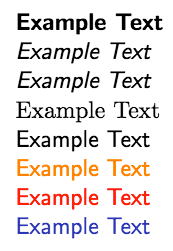
First the \textbf command which makes the text bold, then \textit which puts the text in italics, then \textsl which make it slanted, \textrm which uses the roman font family, \textsf which uses the sans serif font family but this doesn't change anything because we are already using this font. Next the \textcolor command which puts it in the specified colour, then \alert which puts the text in red by default and finally the \structure command which formats the text in a way that indicates the presentation's structure.
Overlays and environments
Overlay specifications often work with environments as well. For example, we could animate the environments on the maths blocks page like this:
\begin{frame}
\frametitle{Maths Blocks}
\begin{theorem}<1->[Pythagoras]
$ a^2 + b^2 = c^2$
\end{theorem}
\begin{corollary}<3->
$ x + y = y + x  $
\end{corollary}
\begin{proof}<2->
$\omega +\phi = \epsilon $
\end{proof}
\end{frame}
Notice that with environments we put the overlay specification after the curly brackets instead of before.
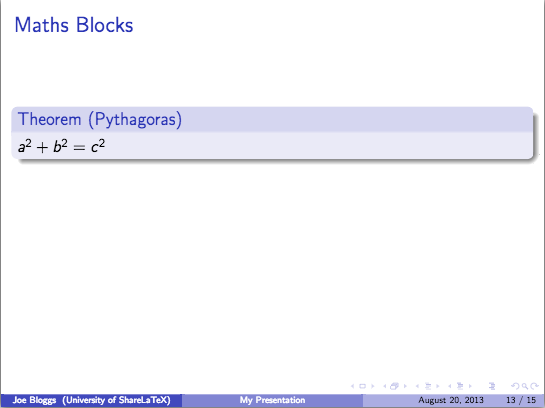
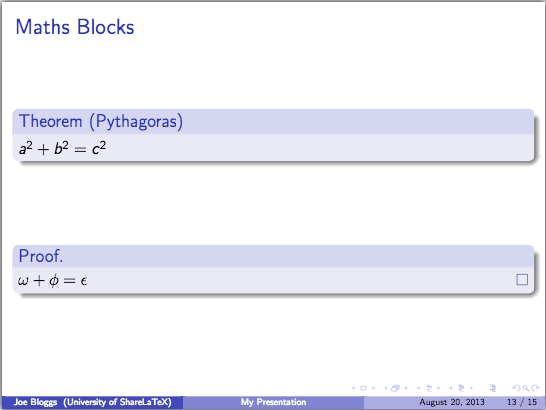
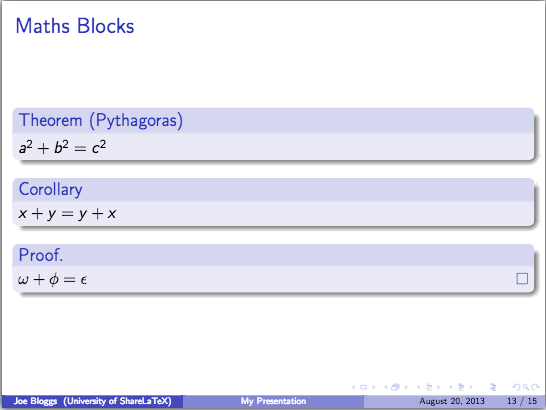
You will also notice that turning the transparency setting on earlier in the document has affected the overlays here.
Overlays and tables
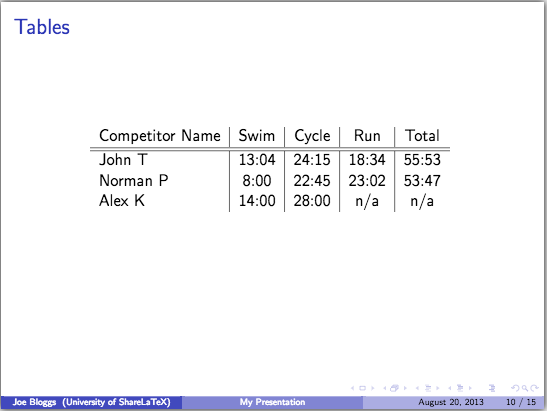
Finally we may want to animate a table so that the rows appear slide by slide. To do this we use the \onslide command and make sure we reset the \setbeamercovered{} command to the default for this to work:
\setbeamercovered{invisible}
\begin{frame}
\frametitle{Tables}
\begin{table}
\begin{tabular}{l | c | c | c | c }
Competitor Name & Swim & Cycle & Run & Total \\
\hline \hline
John T & 13:04 & 24:15 & 18:34 & 55:53 \onslide<2-> \\
Norman P & 8:00 & 22:45 & 23:02 & 53:47 \onslide<3->\\
Alex K & 14:00 & 28:00 & n/a & n/a \onslide<4->\\
Sarah H & 9:22 & 21:10 & 24:03 & 54:35
\end{tabular}
\caption{Triathlon results}
\end{table}
\end{frame}
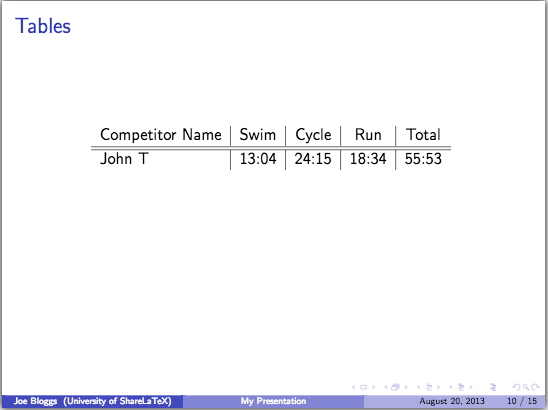
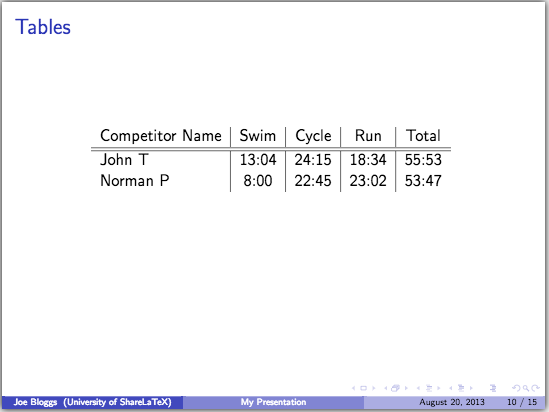
This concludes our discussion on animating our presentation. In the next, and final, post of this series we'll look at the different themes available in beamer and we'll look at printing handouts.
All articles in this series
- Part 1: Getting Started
- Part 2: Lists, Columns, Pictures, Descriptions and Tables
- Part 3: Blocks, Code, Hyperlinks and Buttons
- Part 4: Overlay Specifications
- Part 5: Themes and Handouts
Please do keep in touch with us via Facebook, Twitter or via e-mail on our contact us page.